It is easier to see your student inside TeacherKit the same way you see them seated inside the classroom.TeacherKit can help you customize that smoothly.
You can either view your students using a specific sort view (Which is the ” Normal” view), or you can seat them the way they sit in classroom using the “Seating Chart” mode.
As for the “Seating Chart” view, you can seat each student and seat them anyway in the screen.
Here is how:
Open a class by Tapping on it from your “Classes” View, (which contains all your classes created in TeacherKit).
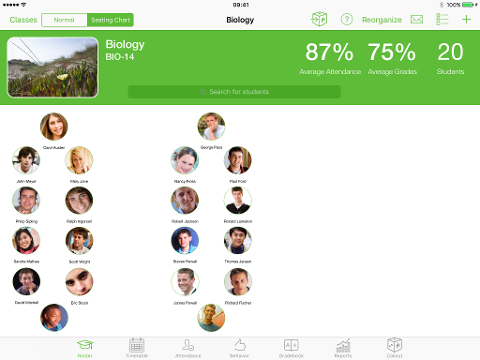
The class will open on the Roster view where you see all the students added to that class.
Tap on “Seating Chart” button at top left (as seen in the below screenshot).
Tap and Hold on any student and move her/him anywhere in the screen.
NOTES:
You can pinch in and out to zoom in and zoom out so that you see the whole seating.
You can reorganize the seating anytime by tapping on “Reorganize” button at the top tool bar.